How to Check Vacuum Leaks With WD-40 in 7 Easy Steps
To check for vacuum leaks with WD-40, start by gathering your tools and parking your vehicle safely with the engine off. Vacuum leaks can cause rough idling, poor fuel economy, and engine performance issues, so identifying them early is crucial.
Using WD-40 as a simple and effective method helps pinpoint these leaks quickly.
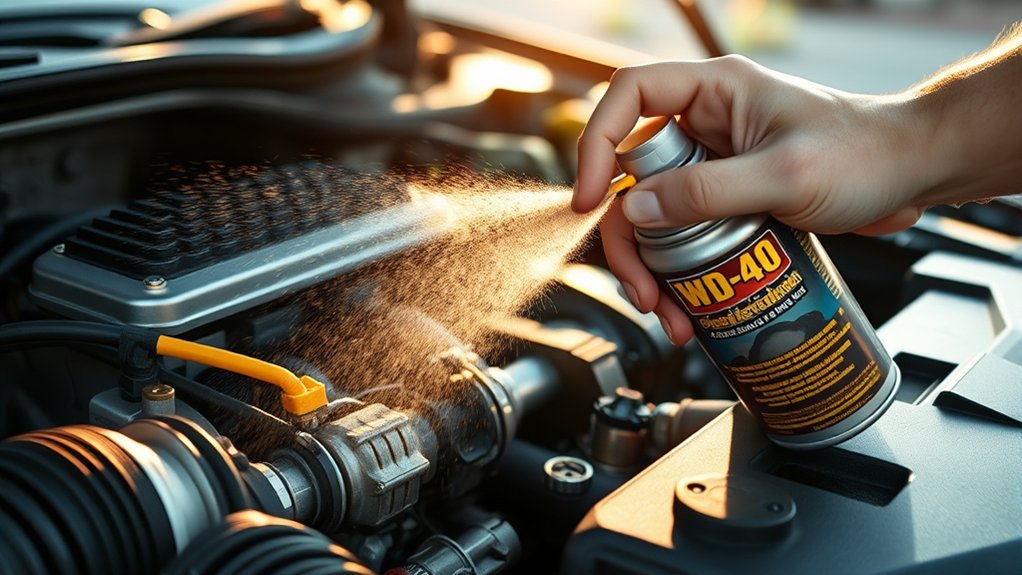
Locate common leak spots such as hoses, the intake manifold gasket, and the throttle body. Spray a light mist of WD-40 about 6-8 inches from these areas while the engine idles.
Listen carefully for changes like a smoother idle or reduced hissing sounds to detect leaks.
If you don’t notice any differences, try other diagnostic methods to confirm. Keep going through these steps to uncover effective tips for fixing vacuum leaks and improving your vehicle’s performance.
Key Takeaways
- Park the vehicle on a flat surface, turn off the engine, and remove covers blocking vacuum lines for easy access.
- Inspect vacuum hoses, intake manifold gasket, throttle body, and brake booster hose for cracks, brittleness, or disconnections.
- Spray a light mist of WD-40 from 6-8 inches away on suspected leak areas, moving slowly along hoses and connections.
- Listen for changes like reduced hissing sounds or smoother engine idle to detect leaks after spraying WD-40.
- Confirm leaks by observing engine RPM changes or hissing noises, and consider further testing if necessary.
Understand Why Vacuum Leaks Affect Your Engine
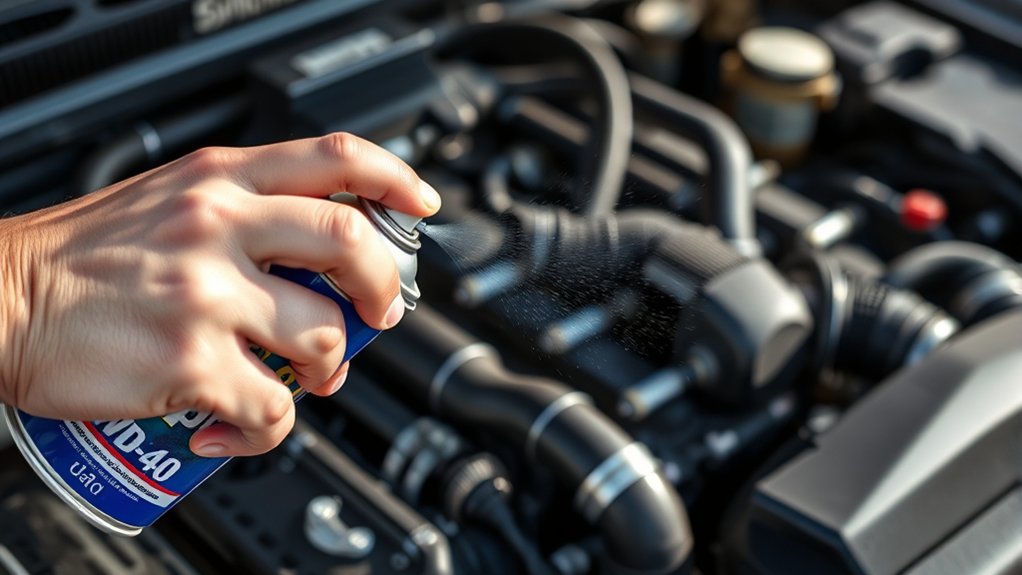
Although vacuum leaks might seem minor, they can cause significant problems for your engine’s performance. When air escapes through a leak, your engine’s air-fuel mixture gets thrown off balance. This imbalance leads to rough idling, hesitation during acceleration, and even stalling.
You’ll notice your engine running lean, meaning it’s getting too much air and not enough fuel. This can cause overheating and damage over time. Plus, your check engine light might come on, signaling that something’s wrong.
Understanding this helps you realize why detecting and fixing leaks quickly is essential. You want your engine to run smoothly and efficiently, and keeping the vacuum system sealed is key to achieving that. Ignoring leaks only makes problems worse.
Gather Tools and Prepare Your Vehicle for Testing
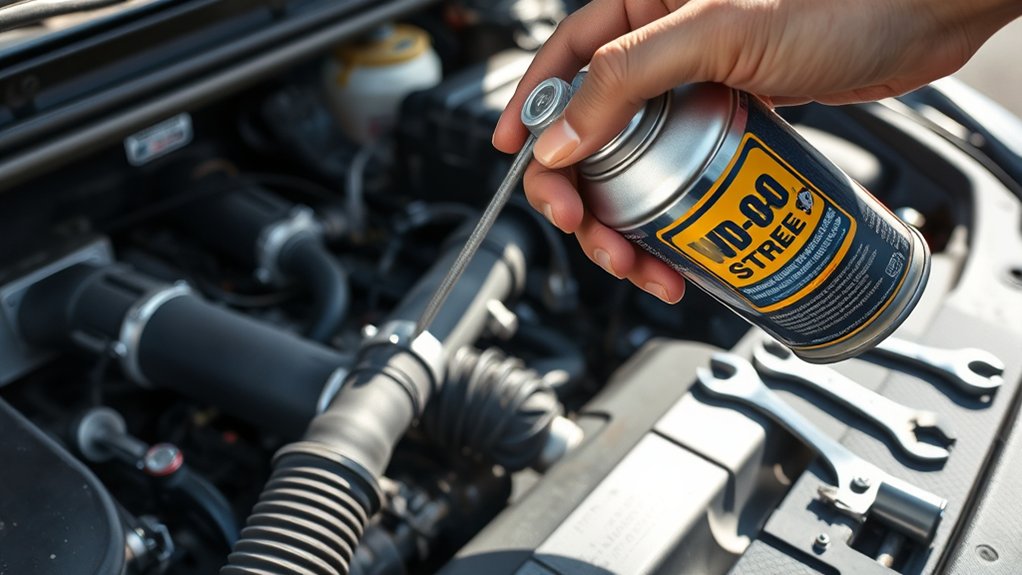
Before you start, make sure you have all the essential tools like WD-40, a flashlight, and safety gloves. Take necessary safety precautions by parking on a flat surface and letting the engine cool down.
Finally, prep your engine by removing any covers that block access to vacuum lines.
Essential Tools Checklist
Since accurate vacuum leak detection depends on the right equipment, you’ll need to gather a few essential tools before starting. Having everything ready guarantees a smooth, efficient process when you spray WD-40 to pinpoint leaks.
Here’s a quick checklist to help you prepare:
| Tool | Purpose |
|---|---|
| WD-40 Spray | Detects air leaks by changing engine idle speed |
| Safety Glasses | Protects your eyes from spray and debris |
| Flashlight | Helps you see in tight or dark engine areas |
Apart from these, keep a rag handy for wiping excess spray and wear gloves if you prefer extra protection. With these tools ready, you’ll be set to find any vacuum leaks quickly and safely.
Vehicle Safety Precautions
To guarantee your safety while checking for vacuum leaks, you’ll need to secure your vehicle and prepare your workspace properly. Start by parking on a flat surface and engaging the parking brake to prevent any movement. Make sure the engine is off and cool to avoid burns or other injuries.
Clear the area of any flammable materials since WD-40 is flammable. Finally, keep a fire extinguisher nearby as a precaution.
Here’s a quick safety checklist:
- Park on a level surface and set the parking brake.
- Turn off the engine and let it cool completely.
- Remove any flammable items from the workspace.
- Have a fire extinguisher within reach.
Following these steps helps assure a safe and effective vacuum leak test.
Engine Preparation Steps
Although checking for vacuum leaks might seem straightforward, properly preparing your engine and gathering the right tools will make the process smoother and more accurate. Start by ensuring your engine is cool to avoid burns. Gather essentials like WD-40, a clean rag, a flashlight, and safety gloves.
You’ll also want a basic socket set to remove any covers blocking access to vacuum lines. Next, disconnect the negative battery terminal to prevent accidental shorts. Remove engine covers or air intake components if they obstruct access to vacuum hoses.
Make sure the engine is off before you begin spraying WD-40. Finally, work in a well-ventilated area to avoid inhaling fumes. With everything ready, you’re set to start testing for leaks efficiently.
Locate Common Vacuum Leak Spots in Your Engine
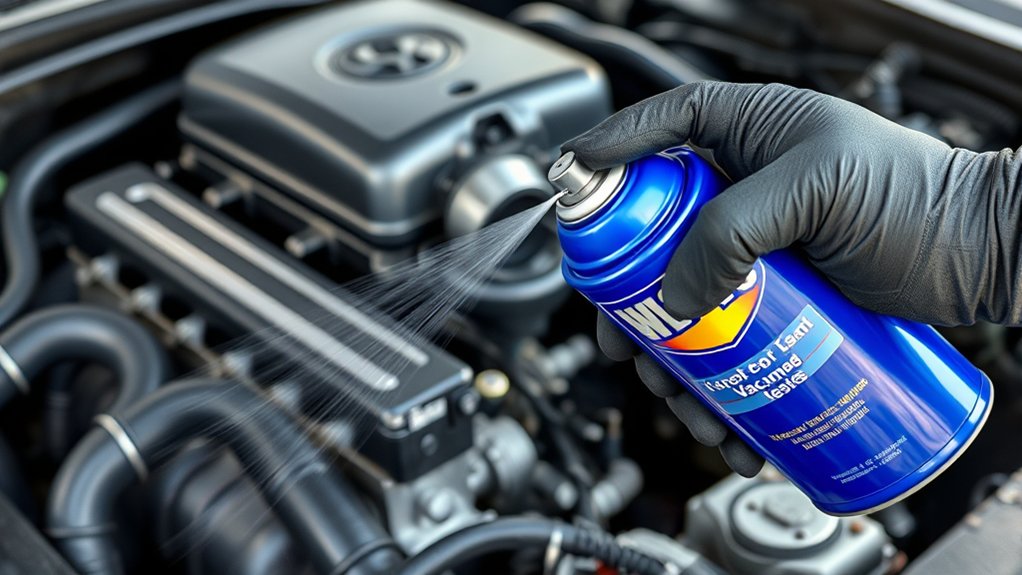
When you want to find vacuum leaks, start by focusing on the engine areas where leaks commonly occur. These spots are prone to wear, cracks, or loose connections, making them prime suspects for leaks that affect engine performance.
Check these key areas:
- Vacuum hoses: Inspect for cracks, brittleness, or disconnected ends.
- Intake manifold gasket: Look for any signs of damage or leaks around the gasket sealing.
- Throttle body: Examine the gasket and connections where it meets the intake manifold.
- Brake booster hose: Ensure it’s securely attached and free of cracks or holes.
Safely Spray WD-40 to Spot Vacuum Leaks
Before you start spraying WD-40, make sure your engine is cool to prevent any accidental fires or damage. Hold the WD-40 can about 6-8 inches from the suspected vacuum leak area. Spray a light mist, moving slowly along hoses, joints, and connections.
Avoid soaking parts to prevent slipping hazards.
Use the table below to guide your spraying approach:
| Area Type | Spray Distance | Spray Amount |
|---|---|---|
| Rubber Hoses | 6-8 inches | Light mist |
| Metal Connections | 6-8 inches | Light mist |
| Plastic Parts | 8-10 inches | Minimal spray |
Take your time and be methodical. Spraying too much WD-40 can cause slipping or damage, so less is more.
Watch and Listen for Vacuum Leak Signs After WD-40 Spray
Once you’ve sprayed WD-40 on the suspected areas, pay close attention to any changes in engine sound or behavior. This is where you’ll detect if the spray has temporarily sealed a vacuum leak. Here’s what to watch and listen for:
- A sudden drop or smoothing in engine idle speed.
- Reduction or disappearance of hissing or sucking noises.
- Engine running more steadily without unexpected revving.
- Noticeable decrease in rough idling or stalling tendencies.
If you observe any of these signs, it’s a strong indication that you’ve found the leak. Stay alert and move the spray slowly around different sections to pinpoint the exact spot. This method helps you identify leaks quickly without complex tools.
Confirm Leaks and What to Do If WD-40 Doesn’t Work
If you’ve identified a potential vacuum leak by spraying WD-40 and noticing changes in engine behavior, the next step is to confirm the exact location and severity of the leak. Carefully inspect the area where you sprayed WD-40, watching for any noticeable hissing sounds or shifts in engine RPM that pinpoint the leak. If the leak is small, you might need to spray a little more WD-40 to be sure.
However, if WD-40 doesn’t cause any change, don’t assume there’s no leak. Try other methods like using a smoke machine or soapy water to detect escaping air. These tools can reveal leaks that WD-40 might miss, especially tiny or hard-to-reach ones.
Confirming the leak accurately helps you decide your next steps.
Fix or Replace Vacuum Leak Parts You Found
After you’ve pinpointed the vacuum leak, you’ll need to decide whether to fix the existing part or replace it entirely. Small cracks or loose connections can often be repaired, but damaged hoses or broken components usually require replacement.
Here’s how to approach it:
- Inspect the part closely for cracks, holes, or brittleness.
- Tighten clamps or reconnect hoses securely if they’re loose.
- Use a vacuum-safe sealant or tape for minor leaks.
- Replace any part that’s visibly damaged or can’t hold a seal.
Frequently Asked Questions
Can WD-40 Damage Engine Components During Vacuum Leak Testing?
WD-40 generally won’t damage engine components during vacuum leak testing if you use it sparingly. However, avoid spraying directly on sensitive parts like rubber hoses or electrical connections to prevent potential harm or deterioration.
Using WD-40 carefully helps minimize any risk of damage. It’s best to apply it in small amounts and only where necessary. This approach ensures your engine components remain safe during testing.
How Long Should I Wait After Spraying Before Checking for Leaks?
You only need to wait about 10-15 seconds after spraying before checking for leaks—fast enough to catch a lightning bolt!
Stay alert for changes in engine RPM or sounds indicating a vacuum leak’s presence.
Is WD-40 Safe to Use on All Types of Vacuum Hoses?
No, WD-40 isn’t safe for all vacuum hoses. It can degrade rubber or plastic materials, so you should check your hose type first.
Use it cautiously or try a safer alternative designed for vacuum systems.
Can I Use Alternatives to WD-40 for Detecting Vacuum Leaks?
Absolutely, you can try alternatives like soapy water, brake cleaner, or carburetor cleaner to detect vacuum leaks. Just spray them lightly near suspected areas, and watch for bubbles or changes—like a detective sniffing out clues.
How Often Should I Check for Vacuum Leaks in My Vehicle?
You should check for vacuum leaks at least once a year or whenever you notice rough idling, poor fuel economy, or engine performance issues.
Regular inspections help keep your vehicle running smoothly and prevent costly repairs.
Conclusion
Now that you’ve learned how to check for vacuum leaks with WD-40, you’re armed and ready to tackle those sneaky engine troubles. Like a detective sniffing out clues, you can spot leaks quickly and keep your engine running smoothly.
Remember, if WD-40 doesn’t reveal the culprit, don’t fret—there are other ways to find and fix the problem. Using WD-40 to check vacuum leaks is a simple and effective method to maintain your vehicle’s health.
Keep your car healthy, and it’ll thank you with better performance and reliability. Regularly checking vacuum leaks with WD-40 ensures your engine stays in top shape and runs efficiently.