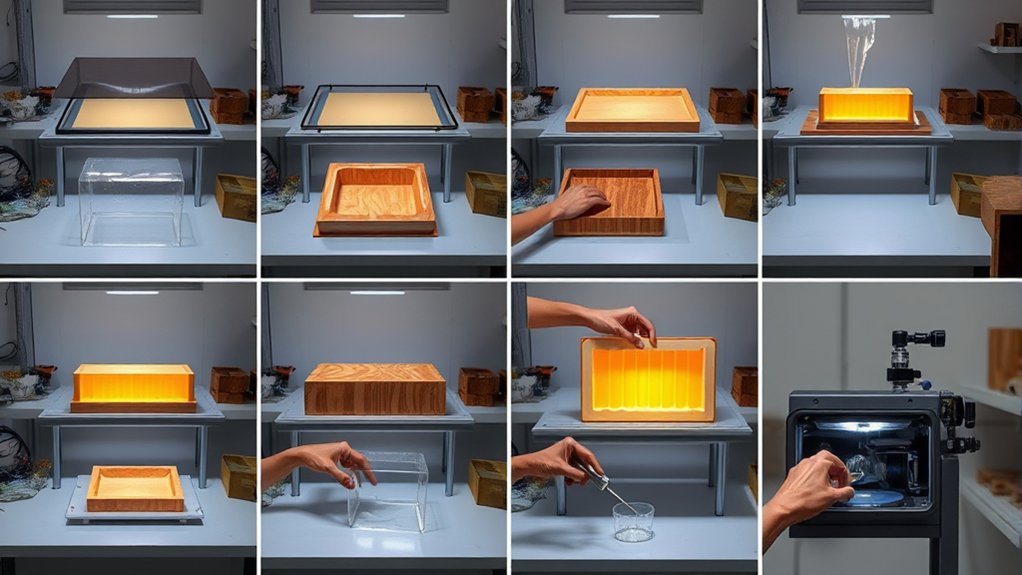
10 Steps to Do Yourself Vacuum Forming
You start by understanding vacuum forming basics and gathering your materials, including plastic sheets and a mold. Vacuum forming is a versatile and cost-effective method for shaping plastic, ideal for DIY projects and prototyping.
Design and prepare a simple, smooth mold with release agents, then set up a safe workspace.
Heat the plastic evenly until pliable, position it over your mold, and activate the vacuum to shape it.
After cooling, carefully remove, trim, and finish your piece.
If issues arise, troubleshoot heat, suction, or mold problems.
Keep going to discover tips for perfect results. With practice, you can master vacuum forming and create professional-quality pieces at home.
Key Takeaways
- Heat the plastic sheet evenly until soft, avoiding overheating or underheating for proper forming.
- Secure the mold on the vacuum table and clamp the heated plastic sheet taut and wrinkle-free.
- Activate the vacuum smoothly to pull the plastic tightly over the mold, capturing all details.
- Allow the plastic to cool completely before carefully removing the formed piece from the mold.
- Trim excess plastic and finish edges with sanding, polishing, or painting as desired.
Understand Vacuum Forming Basics
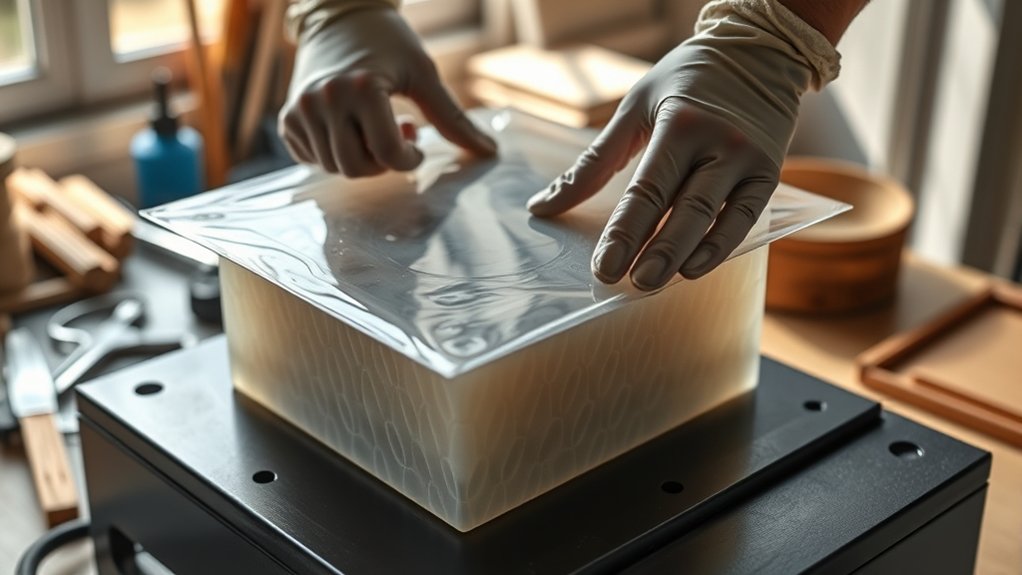
Before you plunge into vacuum forming, you need to understand its basic principle: heating a plastic sheet until it’s soft, then shaping it over a mold using suction. You’ll place the heated plastic above a mold, and when the vacuum activates, it pulls the plastic tightly around the mold’s contours. This process captures detailed shapes quickly and accurately.
You’ll find vacuum forming especially useful for creating prototypes, packaging, or custom parts. It’s a straightforward technique, but success depends on controlling heat and suction properly. If you overheat the plastic, it might sag or tear; underheat it, and the plastic won’t form well.
Mastering this balance ensures your forms are precise and clean, setting a solid foundation before moving on to material choices and mold preparation.
Gather Essential Materials and Choose Plastic Sheets
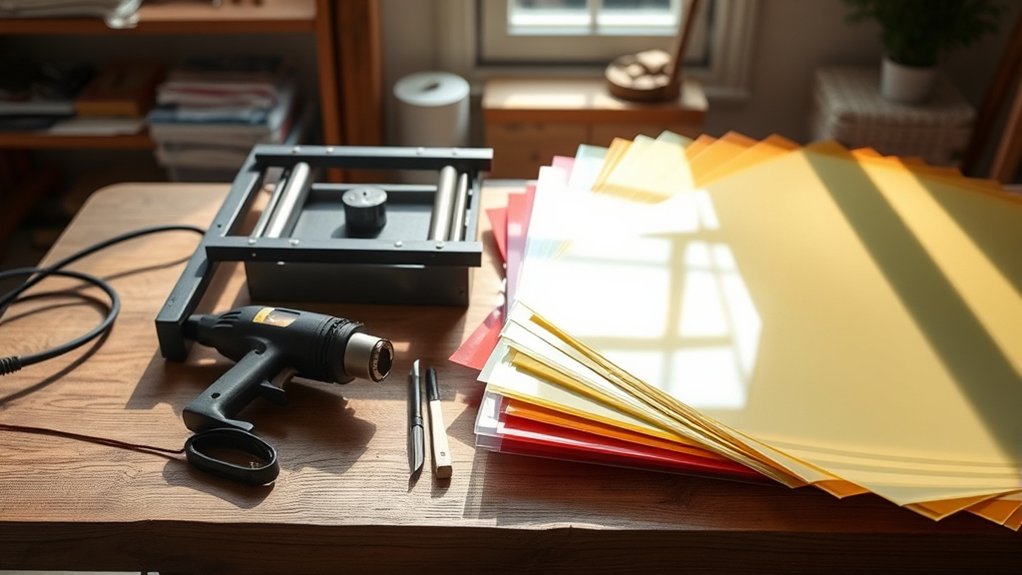
To start your vacuum forming project, gather five key materials: a vacuum forming machine or setup, plastic sheets, a mold, a heating source, and a vacuum pump or system.
Choosing the right plastic sheets is essential; they come in various types and thicknesses, affecting your final product. Common plastics include ABS, PETG, and polystyrene, each suited for different applications.
| Plastic Type | Best For |
|---|---|
| ABS | Durable, impact-resistant |
| PETG | Clear, food-safe |
| Polystyrene | Lightweight, easy to form |
Pick sheets that fit your mold size and heating capabilities. Make sure your heating source can evenly soften the plastic without burning it.
With these materials ready, you’re set to move forward confidently.
Design and Prepare Your Vacuum Forming Mold: Tips & Tricks
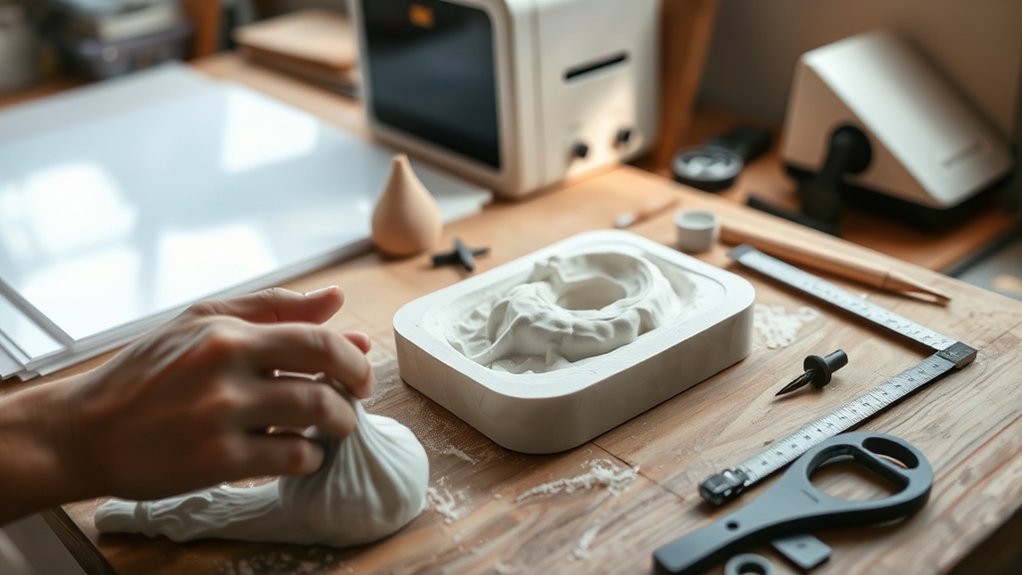
You’ll want to pick the right materials for your mold to guarantee durability and detail. Keep the mold shape simple enough for easy forming but detailed enough to get the design you want. Don’t forget to smooth and prep the surface so your plastic sheet forms cleanly and releases easily.
Choosing Mold Materials
Several materials work well for vacuum forming molds, but choosing the right one depends on your project’s complexity and budget. If you’re just starting, wood is a great choice—it’s easy to shape and affordable. For more detailed molds, consider aluminum or high-density foam, which offer durability and finer surface finishes.
Plastic molds like acrylic or PVC also work well for simpler designs and can be reused multiple times. Avoid materials that might melt or deform under heat, as vacuum forming involves heating plastic sheets. Whichever material you pick, guarantee it withstands the heat and pressure during forming.
Also, think about how easy it is to carve or machine your mold, since that affects your preparation time. Choosing the right material sets the foundation for a successful vacuum forming project.
Mold Shape Considerations
Selecting the right mold material lays the groundwork, but shaping your mold properly determines how well your final piece turns out. When designing your mold, avoid undercuts or sharp angles; these can trap the plastic and ruin your form. Smooth, rounded edges help the plastic flow evenly.
Also, consider draft angles—slight tapers that make removing the plastic easier. The mold’s height and depth affect vacuum strength and material stretch, so keep these balanced.
| Mold Shape Aspect | Key Tip |
|---|---|
| Undercuts | Avoid to prevent plastic traps |
| Edges | Smooth and rounded |
| Draft Angles | Include slight tapers |
Keep these shape considerations in mind to create molds that yield clean, consistent vacuum-formed parts.
Surface Preparation Techniques
Before shaping your mold, focus on preparing its surface to guarantee smooth plastic release and a flawless finish. Start by sanding the mold with fine-grit sandpaper to remove any rough spots or imperfections. This helps prevent unwanted texture on your final piece.
Next, clean the surface thoroughly to eliminate dust, oils, or debris that could interfere with the plastic forming. Applying a mold release agent is essential—choose one compatible with your mold material and plastic type. Spray or brush it evenly, ensuring full coverage without pooling.
Let it dry as instructed to avoid sticking. If you’re working with porous materials like wood, seal the surface first to prevent moisture absorption and improve smoothness. These preparation steps will save you time and improve the quality of your vacuum-formed parts.
Set Up a Safe Vacuum Forming Station in Your Workspace
When you set up your vacuum forming station, prioritize safety to prevent accidents and guarantee smooth operation. Choose a well-ventilated area with a sturdy workbench. Keep fire extinguishers nearby and wear heat-resistant gloves.
Confirm all electrical connections are secure and dry.
Here’s a quick safety checklist:
| Safety Item | Purpose | Tip |
|---|---|---|
| Ventilation System | Remove fumes | Use a fan or open windows |
| Fire Extinguisher | Handle emergencies | Keep within arm’s reach |
| Heat-Resistant Gloves | Protect hands from heat | Use gloves rated for high temps |
Heat the Plastic Sheet Evenly for Vacuum Forming
You’ll want to heat the plastic sheet evenly to reach the ideal temperature for forming without causing any damage. Make certain your heat source distributes warmth uniformly to avoid weak spots or overheating.
Taking these precautions helps guarantee a smooth, successful vacuum forming process.
Optimal Temperature Settings
Achieving the right temperature is essential for successful vacuum forming, as it guarantees the plastic sheet softens evenly without warping or burning. You’ll want to set your heating element to the manufacturer’s recommended temperature range, usually between 270°F and 375°F, depending on the plastic type.
Keep these tips in mind:
- Preheat the plastic gradually to avoid spots that overheat or remain hard.
- Use an infrared thermometer to monitor the sheet’s surface temperature accurately.
- Adjust the heat based on the sheet’s thickness; thicker sheets require more time or higher heat.
Even Heat Distribution
Getting the plastic sheet to the right temperature is only part of the process; distributing that heat evenly across the entire surface is just as important. You want the sheet to soften uniformly so it molds smoothly without weak spots or bubbles.
To achieve this, position the sheet at an equal distance from the heat source and avoid hotspots by using a heat source that spreads warmth evenly, like an infrared heater or a well-calibrated oven. Rotate or flip the sheet periodically if needed to guarantee all areas receive consistent heat.
Keep an eye on the sheet’s color and flexibility—you’ll notice it becoming slightly pliable throughout. This even heating helps you get a clean, precise vacuum form every time.
Avoiding Overheating Risks
While heating the plastic sheet evenly is essential, you must also avoid overheating, which can cause bubbling, warping, or even melting. To prevent these issues, monitor the temperature closely and adjust the heat source as needed. Use a reliable thermometer if possible and keep the heating time within recommended limits.
Here are some tips to avoid overheating risks:
- Heat the plastic slowly and evenly, avoiding direct intense heat spots
- Watch for signs like excessive sagging or discoloration, which indicate overheating
- Remove the sheet promptly once it reaches the right pliability to prevent prolonged exposure
Position Your Mold and Plastic for the Best Vacuum Forming
Before you start the vacuum forming process, make sure to carefully position your mold and plastic sheet to guarantee even heating and a tight seal. Place your mold securely on the vacuum table or base, ensuring it’s stable and won’t shift during forming.
Next, clamp the plastic sheet firmly in the frame, making sure it’s taut and wrinkle-free to avoid imperfections. Align the mold directly beneath the heated plastic, so when the sheet softens, it stretches evenly over the mold’s surface.
Double-check that the plastic covers the entire mold with enough margin around the edges for the vacuum to create a strong seal. Proper positioning helps you achieve clean, accurate forms and reduces the risk of air pockets or incomplete shaping.
Use the Vacuum to Shape the Plastic
Once the plastic sheet reaches the right temperature and becomes pliable, you can activate the vacuum to begin shaping. The vacuum pulls the heated plastic tightly over your mold, capturing every detail.
To guarantee a clean form, keep these tips in mind:
- Make sure the mold is securely positioned to prevent slipping during suction.
- Engage the vacuum smoothly and steadily, avoiding sudden pressure changes.
- Watch the plastic closely as it conforms, ensuring it doesn’t tear or overstretch.
Cool and Carefully Remove Your Vacuum Formed Piece
Give your vacuum-formed piece at least five minutes to cool and harden before attempting removal. This guarantees the plastic maintains its shape and reduces the risk of warping or tearing.
When ready, gently lift the edges using a flat tool or your fingertips, avoiding excessive force. If the piece sticks, wait a bit longer to prevent damage.
Here’s a quick guide to help you remove your piece safely:
| Step | Tip |
|---|---|
| Wait | Minimum 5 minutes cooling time |
| Check edges | Look for looseness before lifting |
| Use tools carefully | Flat, non-sharp tools preferred |
| Handle gently | Avoid bending or twisting |
Taking your time here sets you up for a clean, successful vacuum forming result.
Trim, Smooth, and Finish Your Vacuum Formed Piece
How do you transform your vacuum-formed piece from a rough shape into a polished final product? Start by carefully trimming excess material with a sharp utility knife or fine scissors.
Next, smooth edges and surfaces to remove any rough spots or flash. You can do this by lightly sanding with fine-grit sandpaper or using a rotary tool for precision.
Finally, finish your piece by:
- Wiping it down with a damp cloth to remove dust
- Applying a plastic polish or clear coat for shine and protection
- Adding any necessary paint or decals for customization
Taking these steps ensures your project looks clean and professional, ready for use or display. Don’t rush—patience here makes all the difference!
Troubleshoot Common Vacuum Forming Issues
Although vacuum forming is a straightforward process, you might encounter issues like uneven heating, poor material stretch, or weak suction that affect your final piece. If your plastic isn’t heating evenly, adjust the distance between the heater and the sheet or extend heating time.
Uneven stretch often means the sheet isn’t heated enough or the mold has sharp edges—try smoothing the mold and reheating the sheet. Weak suction usually points to leaks in the vacuum system or clogged filters; check seals and clean filters regularly.
If your formed piece sticks to the mold, apply a mold release spray. By addressing these common issues quickly, you’ll improve your results and enjoy a smoother vacuum forming experience.
Frequently Asked Questions
What Safety Gear Is Recommended for Vacuum Forming at Home?
You should wear heat-resistant gloves, safety goggles, and a dust mask to protect yourself from hot plastic and fumes.
Also, work in a well-ventilated area to avoid inhaling harmful vapors during vacuum forming at home.
Can Vacuum Forming Be Done With Recycled Plastic Sheets?
Yes, you can use recycled plastic sheets for vacuum forming, but make sure they’re clean and free of contaminants. Recycled plastics may have inconsistent thickness, so test them first to avoid poor forming or tearing during the process.
Testing the sheets beforehand helps ensure a smooth vacuum forming experience. Keep in mind that not all recycled plastics behave the same way. Proper preparation is key to successful results.
How Do Humidity and Temperature Affect Vacuum Forming Results?
Imagine stretching warm, pliable plastic like soft dough—humidity and temperature directly affect your vacuum forming by changing plastic’s flexibility and cooling speed.
Too cold or damp, and your final shape might warp or lose detail.
Are There Any Vacuum Forming Molds That Work Best With Food-Safe Plastics?
You’ll want molds made from food-safe materials like silicone or certain plastics that don’t leach chemicals. These molds work best with food-safe plastics, ensuring your vacuum-formed products stay safe and hygienic for food contact.
What Maintenance Is Required for a DIY Vacuum Forming Machine?
You’ll want to treat your DIY vacuum forming machine like a trusty steed: clean the heating elements regularly, check for leaks, lubricate moving parts, and store it in a dry place to keep it running smoothly and reliably.
Conclusion
Now that you’ve mastered these 10 steps, you’re ready to create custom vacuum-formed pieces with confidence. Did you know vacuum forming can reduce production costs by up to 60% compared to traditional molding? That means your DIY projects aren’t just creative—they’re smart investments.
Keep practicing, troubleshoot as needed, and watch your skills—and finished products—improve every time. With patience and attention to detail, vacuum forming will become an invaluable part of your crafting toolkit.
Embracing vacuum forming techniques in your DIY projects not only enhances creativity but also streamlines production. By integrating vacuum forming into your workflow, you save time and money while producing professional-quality results. Keep refining your vacuum forming skills to unlock endless possibilities for custom fabrication and design.