How to Remove Washing Machine Drum in 7 Easy Steps
To remove your washing machine drum in seven easy steps, start by gathering essential tools such as screwdrivers, pliers, and a wrench. Ensuring you have the right tools will make the process smoother and more efficient.
Always unplug the machine and turn off the water valves before beginning any disassembly to stay safe.
Next, disconnect the hoses connected to the washing machine. Then, carefully remove the door seal and front panel by undoing all screws and clips holding them in place. This will give you clear access to the internal components.
After that, loosen and slide off the drive belt, and disconnect the motor.
Unhook the suspension springs and shock absorbers to free the drum.
Finally, unscrew the drum and lift it out carefully.
Keep going to uncover helpful tips for a smooth process.
Key Takeaways
- Unplug the washing machine and turn off the water supply before starting any disassembly.
- Remove the front panel by unscrewing and unclipping it after detaching the door seal and hinges.
- Loosen and remove the drive belt, then disconnect and unscrew the motor from the drum assembly.
- Detach suspension springs and shock absorbers carefully while supporting the drum to avoid damage.
- Unscrew mounting bolts and lift the drum straight out, placing it on a flat surface for further work.
Gather Tools to Remove the Washing Machine Drum
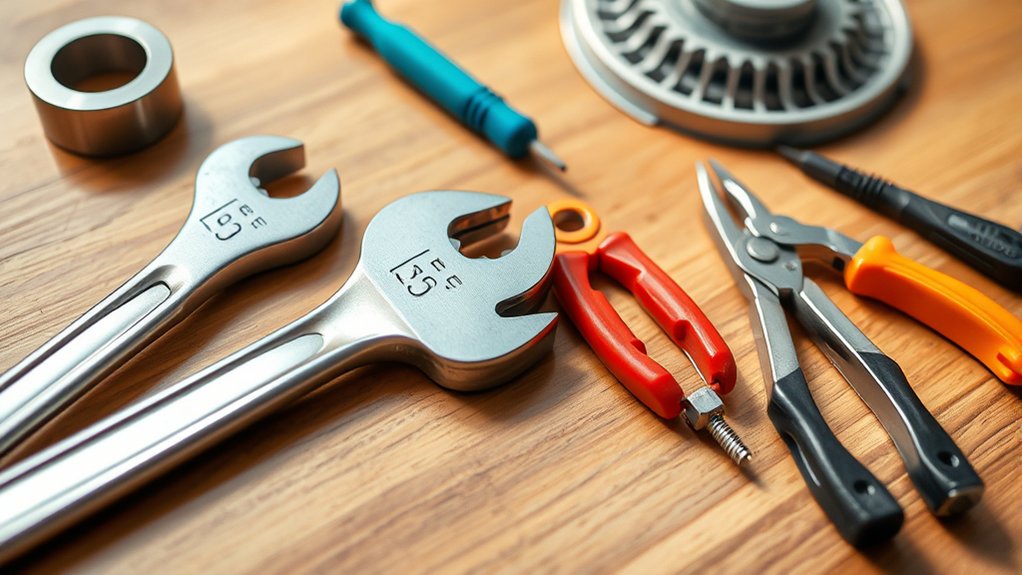
Before you start removing the washing machine drum, make sure you’ve gathered all the necessary tools. You’ll need a screwdriver set, including both flathead and Phillips heads, to remove screws holding the machine’s panels and drum components. A socket wrench or spanner is essential for loosening and removing bolts.
Don’t forget pliers to disconnect hoses or clamps safely. Having a flashlight handy will help you see inside tight spaces. It’s smart to prepare a container or cloth to catch any residual water when detaching hoses.
Also, consider wearing gloves to protect your hands from sharp edges. Organize these tools nearby so you can work efficiently without interruptions. Once you have everything ready, you’ll be set to proceed with the drum removal smoothly.
Unplug and Get Your Washing Machine Ready
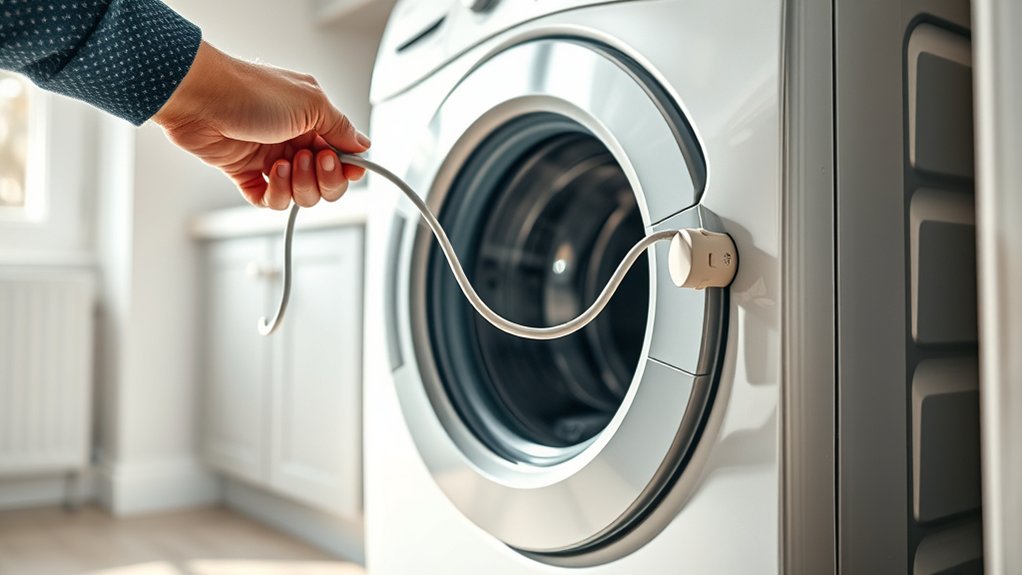
How do you guarantee your safety and prevent damage when starting to remove your washing machine drum? First, unplug the washing machine from the electrical outlet to eliminate any risk of electric shock. Next, turn off the water supply valves and disconnect the hoses carefully to avoid leaks.
Have a towel or bucket ready to catch any remaining water in the hoses. Then, move the washing machine away from the wall to give yourself enough space to work comfortably. Make sure the floor is dry and clear of obstacles to prevent slipping or tripping.
Finally, wear gloves to protect your hands from sharp edges and keep your workspace well-lit. These steps assure a safe and smooth start before you embark on removing the drum.
Take Off the Washing Machine Door and Front Panel
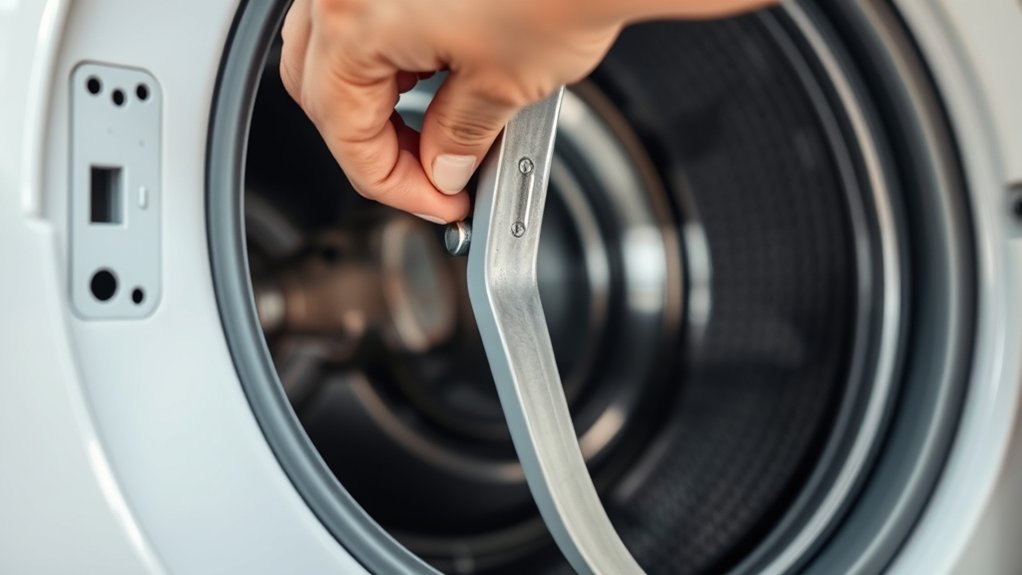
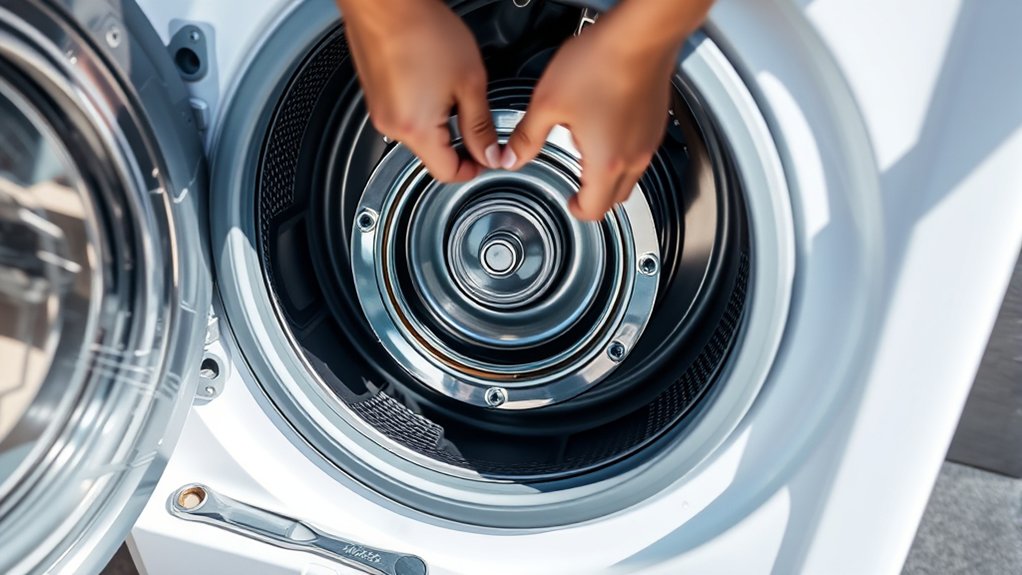
Once you’ve prepared your workspace, you’ll need to remove the washing machine door and front panel to access the drum. Start by opening the door and locating the screws or clips holding the door seal in place. Carefully detach the seal from the door frame, then unscrew the door hinges using a screwdriver.
Set the door aside safely. Next, find and remove the screws securing the front panel, usually located around the edges or inside the door opening. You might need to lift the panel slightly to disengage it from the clips or hooks.
Be gentle to avoid damaging any connected wires or components. Once the front panel is free, place it aside. This step clears the way to reach the drum for further disassembly.
Remove the Drive Belt and Motor From the Drum
Now, carefully detach the drive belt from the drum to avoid damaging it. Once the belt is off, you can move on to removing the motor attached to the drum. Keep track of any screws or clips as you go to make reassembly easier.
Detach Drive Belt Carefully
Before you remove the drive belt, make sure the washing machine is unplugged to avoid any accidents. Locate the drive belt wrapped around the drum pulley and motor pulley. Use your hands or a flathead screwdriver to gently loosen the belt’s tension by pushing the motor slightly away from the drum.
Carefully slide the belt off the drum pulley first, then off the motor pulley. Avoid forcing or stretching the belt, as it can snap or become misshapen. If the belt feels stuck, double-check for any clips or fasteners holding it in place and release them gently.
Once detached, set the drive belt aside in a safe spot to prevent damage. This careful detachment ensures the belt stays intact for reinstallation or replacement later on.
Remove Motor From Drum
How do you safely remove the motor from the washing machine drum after detaching the drive belt? First, ensure the machine is unplugged to avoid any electrical hazards. Locate the motor, usually attached to the back or bottom of the drum assembly.
Disconnect any electrical connectors linked to the motor by gently pulling them off. Next, unscrew the mounting bolts or screws holding the motor in place using the appropriate tool, typically a socket wrench or screwdriver. Carefully slide the motor away from the drum, taking care not to damage any nearby components or wiring.
Set the motor aside in a safe place. Removing the motor this way allows you to access the drum fully and proceed with further disassembly or maintenance without risking damage.
Unhook the Drum From Its Suspension and Shocks
Once you’ve accessed the drum, you’ll need to carefully unhook it from the suspension springs and shock absorbers that keep it stable during cycles. These components absorb vibrations and prevent excessive movement, so detaching them is essential before removing the drum.
Here’s what to keep in mind:
- Identify all suspension springs connected to the drum and frame.
- Use pliers or a screwdriver to gently detach the springs without bending them.
- Locate the shock absorbers at the bottom of the drum assembly; they usually clip or bolt in place.
- Support the drum as you unhook the shocks to prevent sudden drops or damage.
Taking your time here ensures a smooth process and avoids damaging delicate parts.
Remove the Drum From the Washing Machine Frame
Now that the drum is unhooked, you’ll need to detach the mounting bolts securing it to the frame. Carefully remove each bolt to free the drum from its housing.
Once all bolts are out, lift the drum straight up and out of the washing machine frame.
Detach Drum Mounting Bolts
Where do you start when it’s time to detach the drum mounting bolts? First, you need to locate all the bolts securing the drum to the washing machine frame. These bolts are usually around the drum’s perimeter.
Before loosening them, make sure you’ve disconnected the machine from power to stay safe. Use the right tools to avoid stripping the bolts.
Here’s how to tackle it:
- Identify each mounting bolt and its position.
- Use a socket wrench or screwdriver, depending on the bolt type.
- Turn bolts counterclockwise to loosen them carefully.
- Keep bolts in a container to avoid losing any during removal.
Once all bolts are detached, the drum will be free from the frame, ready for the next step.
Lift Drum From Frame
After loosening all the mounting bolts, you can carefully lift the drum from the washing machine frame. Make certain to support the drum evenly with both hands to avoid straining yourself or damaging the parts. If the drum feels stuck, gently wiggle it side to side to loosen any residual fittings or seals.
Avoid using excessive force, as this could bend or break components. Once free, lift the drum straight up and out of the frame. Place it on a clean, flat surface to prevent damage.
If you encounter any resistance, double-check for hidden bolts or clips you might have missed. Taking your time during this step guarantees the drum and frame remain intact for reassembly or repair.
Inspect and Clean the Washing Machine Drum
Before you proceed with further disassembly, carefully inspect the washing machine drum for any signs of damage, residue, or debris. This step helps you identify issues that could affect your washer’s performance or cause leaks. Look closely for:
- Rust spots or corrosion that weaken the drum structure
- Built-up detergent residue or mold that can cause odors
- Foreign objects stuck in the holes or seams
- Cracks or dents that may require replacing the drum
Once inspected, clean the drum thoroughly using a soft cloth and a mild detergent solution. Avoid harsh chemicals that can damage the metal or rubber parts. Removing residues and debris now guarantees smooth operation when you reassemble and prevents future problems.
Taking time here saves you from costly repairs later.
Frequently Asked Questions
How Do I Know if My Drum Needs Replacing?
You’ll know your drum needs replacing if you hear loud banging, notice excessive vibrations, or see visible damage like cracks or rust.
Also, if clothes aren’t cleaning well, your drum might be worn out and need attention.
Can I Use a Washing Machine Drum for a DIY Project?
Yes, you can use a washing machine drum for a DIY project. It’s sturdy and versatile, perfect for fire pits, planters, or even furniture.
Just make sure you clean it thoroughly before getting started.
What Are Common Signs of a Faulty Washing Machine Motor?
You’ll notice strange noises, the drum not spinning, or the machine stopping mid-cycle if the motor’s faulty. It might also overheat or cause burning smells.
Don’t ignore these signs to avoid bigger issues.
How Often Should Washing Machine Drums Be Cleaned Professionally?
Like a car needs an oil change, you should get your washing machine drum cleaned professionally about once a year. This keeps it running smoothly, prevents odors, and extends your machine’s lifespan without hassle.
Are There Specific Detergents to Protect Washing Machine Parts?
Yes, you should use detergents labeled safe for washing machines, especially those with anti-corrosion and gentle enzymes. Avoid harsh chemicals or bleach, as they can damage parts.
Choose products designed to protect your machine’s components.
Conclusion
Now that you’ve taken the washing machine drum out step by step, you’ve untangled the heart of your appliance with ease. Remember, patience is your best friend—like peeling back the layers of an onion, each step brings you closer to a fresh start.
With the drum clean and inspected, your washing machine is ready to spin smoothly again, saving you time and hassle in the long run. Removing the washing machine drum properly ensures better performance and extends the life of your appliance.
By following these simple steps to remove the washing machine drum, you’ve mastered a key maintenance task. You’ve got this!