Fix a Leaky Outside Water Faucet in 7 Easy Steps
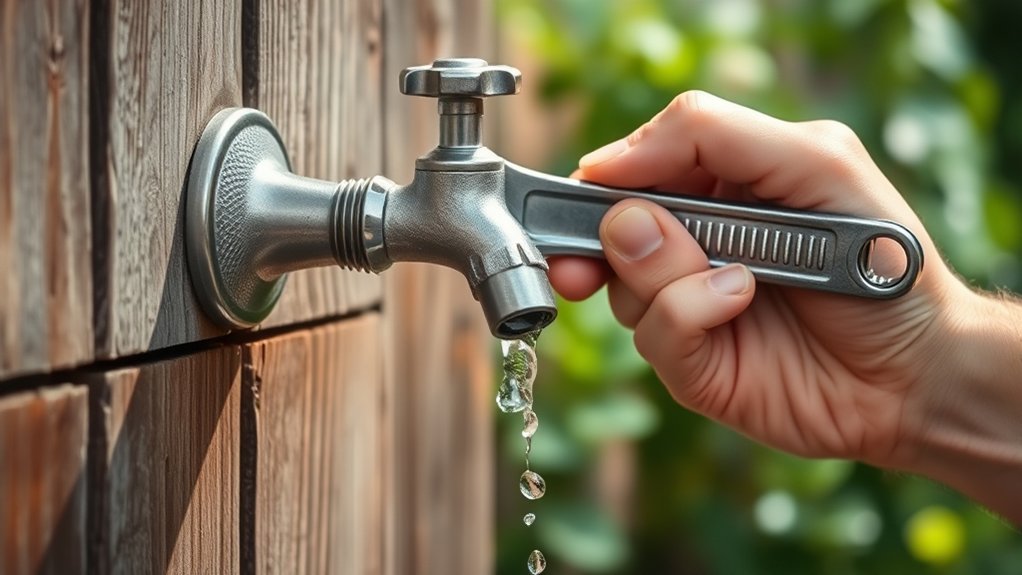
To fix a leaky outside water faucet, start by gathering essential tools such as a wrench and replacement washers. Addressing a leaky faucet promptly is important to save water and prevent damage.
With the right tools and steps, you can easily repair the drip and restore proper function.
First, turn off your main water supply and drain the faucet by opening it. Next, carefully remove the handle and inspect the internal parts for wear or damage.
Replace any worn washers or cartridges you find.
After replacing the necessary parts, reassemble the faucet tightly. Slowly turn the water back on and check for leaks to ensure the repair was successful.
Regular maintenance helps prevent future drips, and you can explore more tips to keep your faucet in top shape.
Key Takeaways
- Turn off the main water supply and fully open the outdoor faucet to drain residual water before starting repairs.
- Remove the faucet handle by loosening its screw and inspect internal parts for wear, corrosion, or mineral buildup.
- Replace worn washers, seals, or cartridges with matching new parts to stop leaks effectively.
- Reassemble the faucet carefully, ensuring all screws and nuts are tight but not over-tightened.
- Turn on the water supply slowly, check for leaks, and perform regular maintenance to prevent future drips.
Tools You Need to Fix an Outdoor Faucet Leak
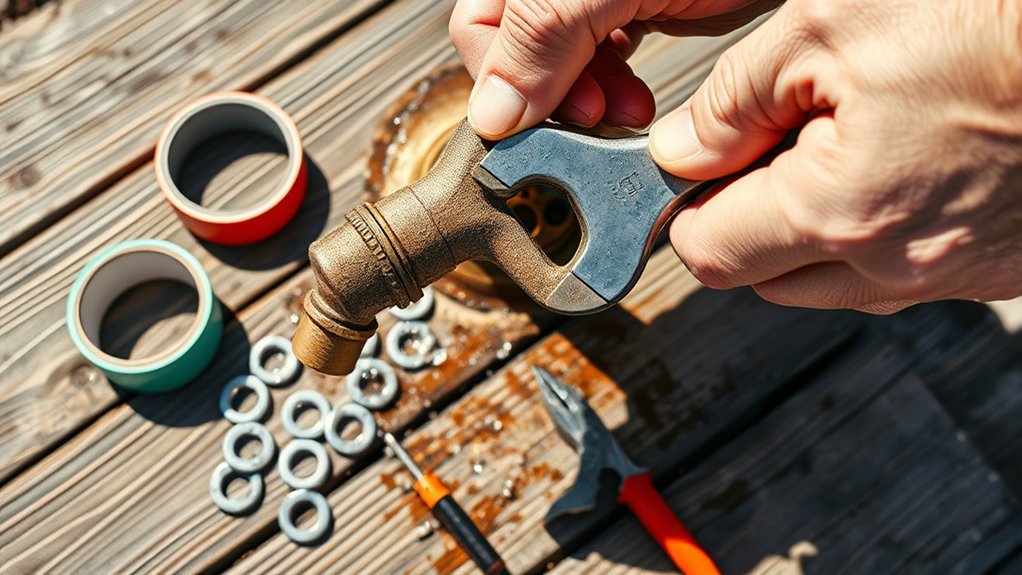
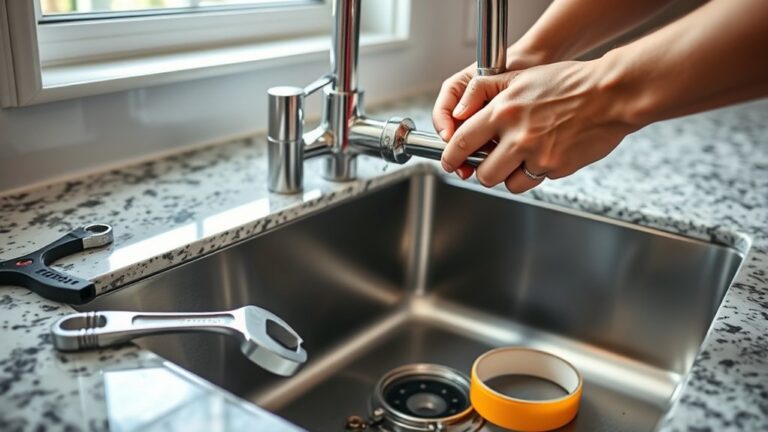
Before you begin fixing your leaky outdoor faucet, gather the right tools to make the job easier and faster. You’ll need an adjustable wrench to loosen and tighten nuts without damaging them. A flathead screwdriver helps remove screws on the faucet handle.
Keep a pair of pliers handy for gripping small parts securely. Don’t forget plumber’s tape (Teflon tape) to seal threaded connections and prevent future leaks. A replacement washer or faucet repair kit is essential since these parts often cause leaks.
Also, have a bucket or towel ready to catch any dripping water during repairs. With these tools in hand, you’ll be prepared to handle the job efficiently and avoid unnecessary trips to the hardware store.
Find Out Why Your Outdoor Faucet Is Leaking
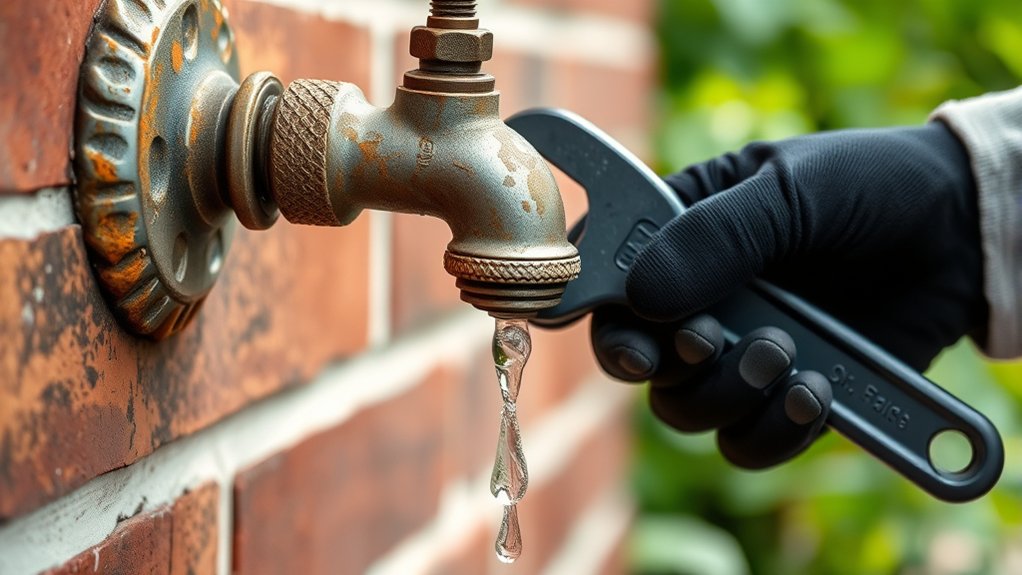
You’ll want to identify common causes of leaks like worn washers or damaged valve seats. Watch for signs of faucet damage such as dripping water or corrosion around the handle. Pinpointing the exact issue helps you fix the leak quickly and effectively.
Common Causes Of Leaks
Leaks in your outdoor faucet often happen because of worn-out washers, damaged seals, or loose connections. When washers age, they lose their ability to create a tight seal, letting water drip steadily. Seals around the valve stem can crack or shrink, causing leaks inside the faucet.
Loose connections between the faucet and the water supply pipe allow water to escape, especially under pressure. Corrosion or mineral buildup can also prevent proper sealing, leading to leaks. Additionally, freezing temperatures may crack pipes or faucet components, causing leaks once water flow resumes.
Knowing these common issues helps you pinpoint the cause quickly, so you can fix the leak before it wastes water or causes further damage to your outdoor plumbing system.
Signs Of Faucet Damage
When your outdoor faucet starts dripping or spraying water unexpectedly, it’s a clear sign something’s wrong. You might notice water pooling around the base, indicating a worn-out seal or damaged valve. If the handle feels loose or stiff when you turn it, internal parts may be corroded or broken.
You could also spot rust or mineral buildup on the faucet, which can cause leaks over time. Sometimes, water only leaks when the faucet is off, suggesting a faulty washer or packing nut. Paying attention to these signs helps you diagnose the problem early and prevents water waste or damage to your home’s exterior.
Don’t ignore even small leaks—they often point to bigger issues needing prompt repair.
Turn Off Water and Drain Your Faucet Safely
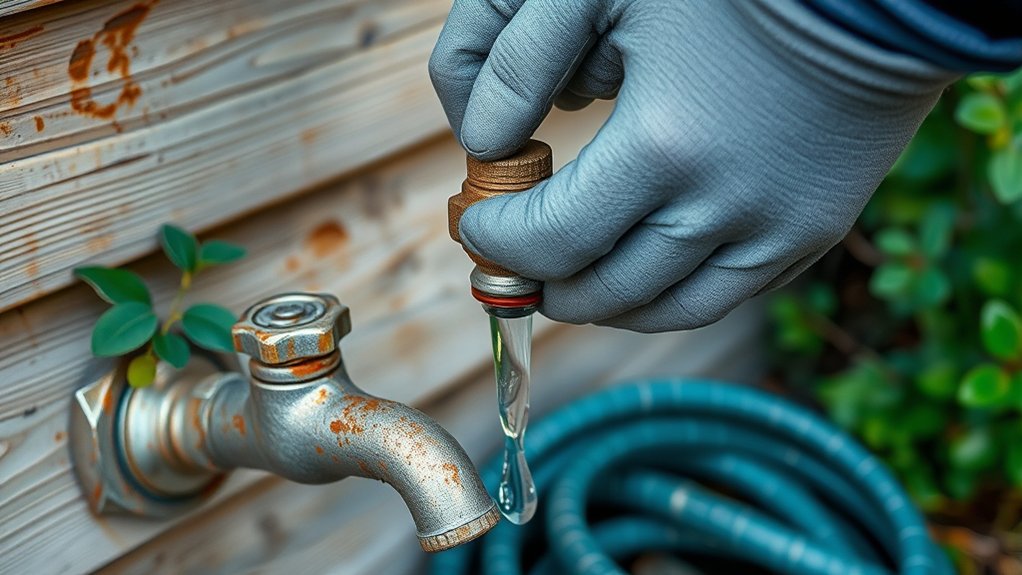
Before working on your outside faucet, make sure to shut off the main water supply to prevent any accidental flooding. Locate the main shutoff valve, usually found near your water meter or where the main water line enters your home. Turn it clockwise until it stops to close it completely.
Once the water is off, open your outside faucet fully to drain any remaining water in the pipes. This step helps prevent water from spilling when you start repairs and reduces pressure inside the faucet. Keep the faucet open while you work to allow air in and guarantee all water drains out.
Draining your faucet safely protects your plumbing and makes the repair process smoother and mess-free.
Remove the Handle and Check Faucet Parts
Start by removing the handle, which usually involves loosening a screw or flipping off a cap to access it. Once the handle is off, carefully inspect the internal parts like the stem, washers, and seals for wear or damage.
Catching these issues early helps you know exactly what needs fixing.
Handle Removal Techniques
Although it may seem straightforward, removing the handle requires some attention to detail to avoid damaging the faucet. First, look for a small screw on the handle—often hidden under a decorative cap or cover. Pry off the cap gently with a flathead screwdriver or a knife.
Once revealed, use a screwdriver to unscrew it. If the handle feels stuck, avoid forcing it; spray a little penetrating oil where the handle meets the faucet and wait a few minutes. Then, wiggle the handle back and forth while pulling upward to loosen it.
For stubborn handles, a handle puller tool can help. After removal, inspect the handle and verify no parts are stripped or broken before moving on. This careful approach helps protect your faucet during repairs.
Inspecting Internal Components
Once you’ve removed the handle, take a close look at the internal components for any signs of wear or damage. This step is vital to identify the source of the leak and determine which parts need replacing or cleaning.
Focus on these key areas:
- Stem Washer: Check if it’s cracked, hardened, or worn out—this often causes leaks.
- Packing Nut and Packing Material: Look for deterioration or looseness that might allow water to seep through.
- Valve Seat: Inspect for corrosion or grooves that prevent a proper seal.
- O-Rings and Gaskets: Make sure they’re intact and flexible; brittle rings can lead to leaks.
Thoroughly examining these parts will help you fix the faucet efficiently and prevent future drips.
How to Replace the Washer or Cartridge
Before you replace the washer or cartridge, make sure you shut off the main water supply to prevent any flooding. Next, remove the faucet handle and unscrew the packing nut. Carefully take out the stem assembly to access the washer or cartridge.
Replace the worn washer or cartridge with a new one that matches the original part. Reassemble the faucet by reversing these steps.
| Step | Action |
|---|---|
| 1 | Shut off main water supply |
| 2 | Remove handle and packing nut |
| 3 | Extract stem assembly |
| 4 | Replace washer or cartridge |
This process guarantees your faucet stops leaking and functions smoothly.
Put Your Faucet Back Together and Test for Leaks
After replacing the washer or cartridge, you’ll want to carefully reassemble the faucet by reversing the disassembly steps, guaranteeing each part fits snugly. Tighten screws and nuts without overdoing it to avoid damage.
Once everything’s back in place, it’s time to test for leaks.
Follow these steps:
- Turn the water supply back on slowly.
- Open the faucet fully and observe closely around the handle and spout.
- Check for any drips or wet spots indicating leaks.
- If you spot leaks, tighten connections gently or recheck the washer placement.
If no leaks appear, your outside faucet is fixed and ready for use! This careful reassembly guarantees a watertight seal and prevents further dripping.
Simple Outdoor Faucet Maintenance to Prevent Future Leaks
To keep your outside faucet working smoothly and avoid future leaks, you should perform regular maintenance throughout the year. Start by inspecting the faucet for any visible cracks or corrosion. Replace worn washers and O-rings promptly to maintain a tight seal.
During colder months, disconnect hoses and drain the faucet to prevent freezing and damage. Apply plumber’s grease to moving parts to guarantee smooth operation. Tighten any loose packing nuts to stop drips before they start.
Also, consider installing a frost-proof faucet if you live in a cold climate. By routinely checking and caring for your outdoor faucet, you’ll extend its lifespan and save yourself from costly repairs down the road. Staying proactive helps you avoid leaks and keeps your water flowing efficiently.
Frequently Asked Questions
Can a Leaky Outdoor Faucet Cause Mold or Water Damage?
Yes, a leaky outdoor faucet can cause mold and water damage if you don’t fix it quickly. The constant moisture creates the perfect environment for mold growth and can damage your home’s foundation or siding over time.
Ignoring the leak allows water to seep into areas it shouldn’t, leading to structural issues. Over time, this can result in costly repairs. Promptly addressing the problem helps prevent these complications.
How Much Does It Typically Cost to Hire a Plumber for This Repair?
Hiring a plumber is like hiring a skilled gardener to prune a stubborn vine; it typically costs $100 to $200.
You’ll get expertise that saves you from bigger, costly leaks down the road.
Are There Any Eco-Friendly Faucet Repair Options Available?
Yes, you can use eco-friendly faucet repair kits with biodegradable washers and low-flow aerators. These options reduce water waste and environmental impact, helping you save water and lower your utility bills while fixing leaks effectively.
Can Freezing Temperatures Cause Outdoor Faucets to Leak?
Yes, freezing temperatures can cause outdoor faucets to leak because water inside pipes freezes, expands, and damages seals or pipes.
You’ll want to insulate faucets and drain outdoor hoses to prevent leaks during cold weather.
How Long Does a Typical Outdoor Faucet Repair Take?
Like a quick pit stop in a race, your outdoor faucet repair usually takes about 30 minutes to an hour.
You’ll have it fixed swiftly, letting you get back to more important things without much delay.
Conclusion
Fixing your leaky outdoor faucet is easier than you might think, and it pays off—did you know that a single drip can waste over 3,000 gallons of water a year? By following these simple steps, you’ll save water and avoid costly damage. Regular maintenance keeps your faucet in good shape and prevents leaks from coming back.
With just a little effort, you’ll protect your home and the environment at the same time. Fix a leaky outside water faucet in 7 easy steps to conserve water, reduce your water bill, and maintain your outdoor plumbing efficiently. Taking action now ensures your outdoor faucet remains leak-free and functional for years to come.