How to Change a Bathroom Faucet in 7 Easy Steps
To change your bathroom faucet in seven easy steps, start by gathering essential tools like wrenches, plumber’s tape, and a basin wrench. These tools will make the installation process smoother and more efficient.
Next, be sure to turn off the water supply to avoid any leaks or water damage during the removal.
Remove the old faucet carefully and clean the sink area thoroughly to prepare for the new installation.
Position and secure the new faucet properly, ensuring all parts fit snugly.
Then, connect the water lines tightly and check for any leaks around the connections.
Finally, test the faucet’s operation by turning the water back on and running both hot and cold water.
Make any final adjustments needed to guarantee smooth use and a leak-free faucet.
Follow these steps closely, and you’ll have a fully functioning bathroom faucet in no time.
Key Takeaways
- Turn off water supply valves and disconnect water lines before removing the old faucet.
- Remove mounting nuts and lift the old faucet away from the sink.
- Position and secure the new faucet, ensuring proper alignment and gasket placement.
- Connect water supply lines to the faucet and shutoff valves, tightening fittings securely.
- Turn on water supply gradually, check for leaks, and test faucet operation for smooth flow.
Gather Tools and Materials
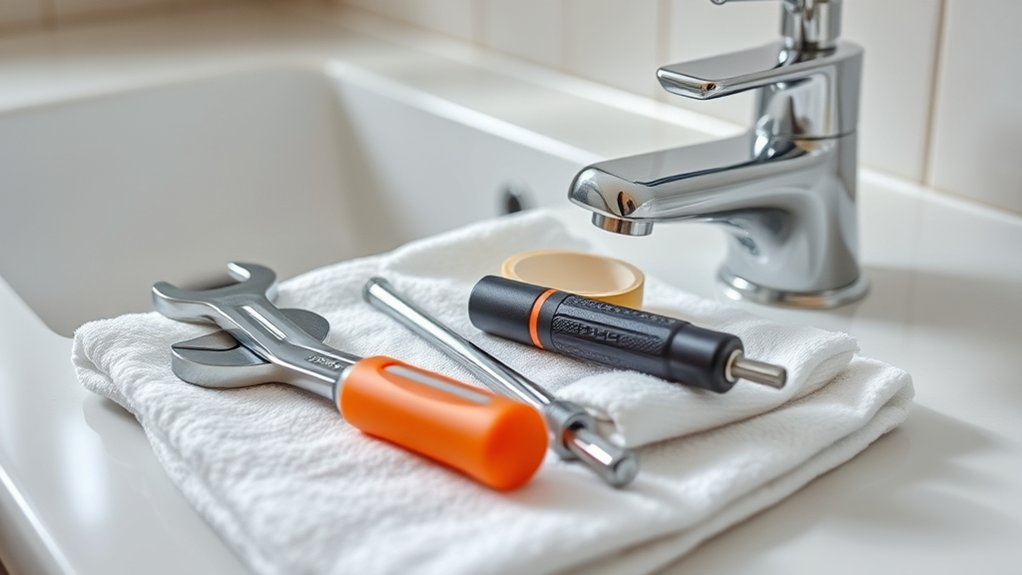
Before you begin replacing your bathroom faucet, you’ll need to gather the right tools and materials to guarantee a smooth process. Start with a basin wrench, which helps you reach the tight nuts under the sink. You’ll also need an adjustable wrench and a pair of pliers for loosening and tightening connections.
Have a bucket handy to catch any water drips. Don’t forget plumber’s tape to ensure watertight seals on threaded fittings. You’ll want a screwdriver—usually Phillips or flathead—for removing mounting screws.
Finally, grab a towel or rag to clean up spills and protect your countertop. Having these tools and your new faucet ready before you start will save you time and prevent interruptions during installation.
Turn Off Water Supply and Prepare Your Workspace
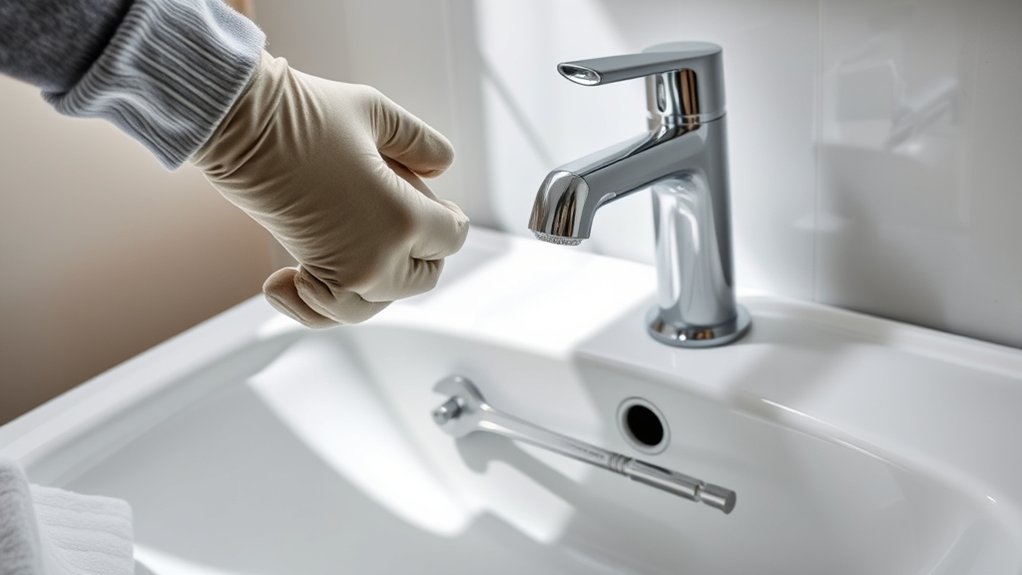
Before you start, locate the main water valve and turn off the supply to avoid any leaks. Clear the area around your sink and protect surfaces with a towel or cloth.
This will keep your workspace organized and prevent damage while you work.
Locate Main Water Valve
Start by locating the main water valve to shut off the water supply to your bathroom. This valve is typically found near your home’s water meter, in the basement, garage, or outside by the foundation. If you live in an apartment, the main valve might be inside a utility closet or near the water heater.
Once you find the valve, turn it clockwise to close it and stop the water flow. After shutting off the main valve, open the faucet you’re replacing to drain any remaining water from the pipes. This prevents leaks and water damage when you disconnect the old faucet.
Knowing where the main valve is and how to operate it guarantees you can safely proceed with your faucet replacement without unexpected water spills.
Clear And Protect Area
Since water supply is off, clear the area around your sink to give yourself enough room to work comfortably. You want to avoid any accidental damage and keep tools within easy reach. Start by removing personal items like soap dispensers, toothbrushes, and towels.
Next, protect your countertop with a waterproof cloth or old towel to catch drips and prevent scratches. Finally, organize your tools and parts nearby but out of the way to avoid clutter.
Here’s what to do:
- Remove all items from the sink and surrounding area.
- Lay down a protective cloth or towel on the countertop.
- Arrange your tools and replacement parts within easy reach.
This preparation helps you work safely and efficiently.
Remove the Old Bathroom Faucet and Clean the Sink Area
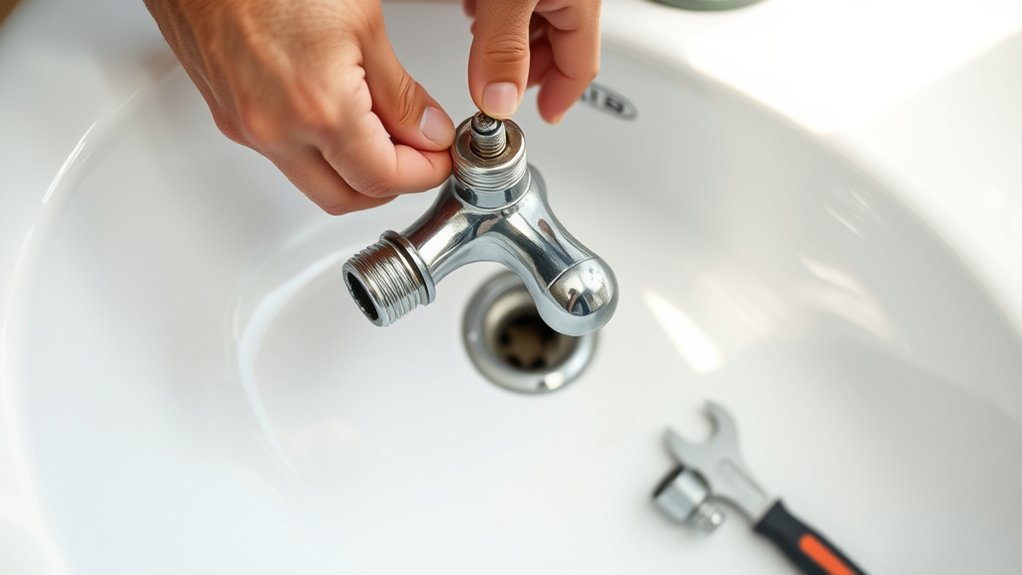
Although removing your old bathroom faucet might seem intimidating, you can handle it with the right tools and a bit of patience. Start by turning off the water supply valves under your sink. Open the faucet to release any remaining water.
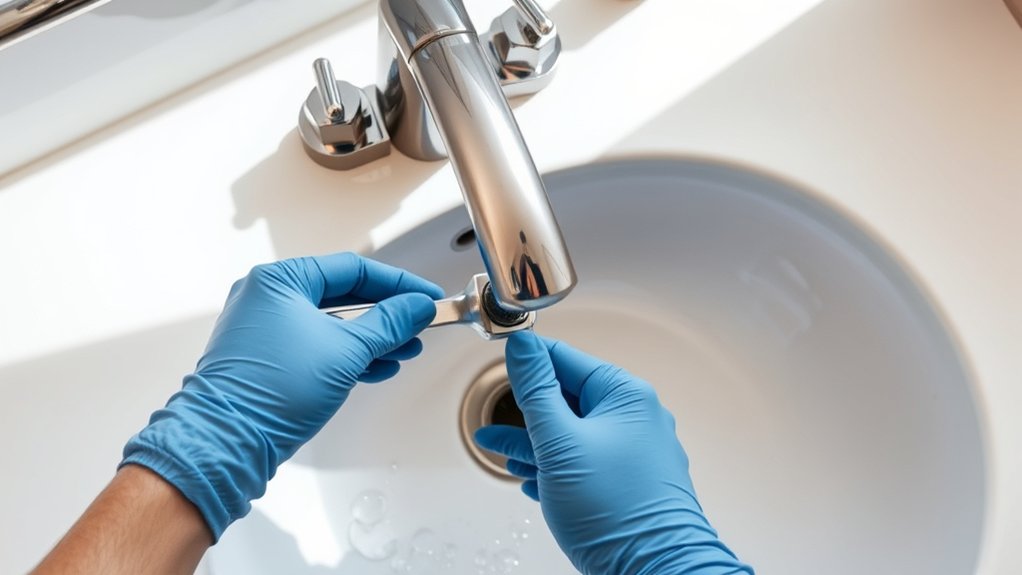
Next, disconnect the water supply lines using an adjustable wrench. Loosen and remove the mounting nuts securing the faucet to the sink. You might need a basin wrench if space is tight.
Once the nuts are off, lift the faucet away from the sink. Take a moment to clean the sink area thoroughly—remove any old plumber’s putty, mineral deposits, or debris using a scraper and a mild cleaner. This guarantees a smooth, clean surface for your new faucet without any leftover residue.
Install the New Bathroom Faucet
Now, position the new faucet components carefully to guarantee everything lines up correctly. Tighten the mounting hardware securely to keep the faucet stable.
Finally, connect the water supply lines, making sure the connections are snug to prevent leaks.
Align Faucet Components Properly
Before securing your new faucet, make sure you align all components carefully to guarantee a proper fit and prevent leaks. Proper alignment ensures smooth operation and extends the faucet’s lifespan. Start by placing the faucet base on the sink holes, making sure the handles and spout line up evenly.
Next, check that the gasket or putty underneath sits flat and covers the hole completely to avoid water seepage. Finally, connect the water supply lines, ensuring they’re not twisted or stretched, which could cause damage later.
- Position the faucet base so handles and spout are straight and centered.
- Confirm the gasket or putty seals the sink surface evenly.
- Align water supply lines without twists for a secure connection.
Secure Mounting Hardware Tight
Since a secure faucet prevents leaks and instability, you’ll want to tighten the mounting hardware firmly but carefully. Begin by positioning the faucet base over the sink holes, then slip the mounting nuts onto the threaded shanks underneath. Use your fingers initially to avoid cross-threading.
Once hand-tight, grab a basin wrench or adjustable wrench to snug the nuts further. Don’t overtighten, as this can crack the sink or damage the faucet. Instead, aim for a firm fit that stops any wobbling.
As you tighten each nut, periodically check the faucet’s position above to keep it aligned correctly. After securing all the mounting hardware, give the faucet a gentle shake to confirm it’s stable. Now, your faucet is securely installed and ready for the next step.
Connect Water Supply Lines
Once the faucet is securely mounted, you’ll connect the water supply lines to guarantee a proper flow. Start by attaching the flexible supply lines to the faucet’s threaded tailpieces, ensuring a snug fit. Then, connect the other ends of the supply lines to the shutoff valves under the sink.
Tighten all connections with an adjustable wrench, but be careful not to overtighten and damage the fittings. Finally, check for leaks by slowly turning on the water valves and observing the connections.
- Attach supply lines to faucet tailpieces and hand-tighten.
- Connect supply lines to shutoff valves and tighten with a wrench.
- Turn on water valves and check all connections for leaks.
Connect Water Lines and Check for Leaks
Although connecting the water lines might seem straightforward, doing it carefully guarantees you avoid leaks and water damage. First, attach the flexible supply lines to the faucet’s tailpieces, tightening them by hand before using an adjustable wrench. Don’t overtighten, as this can damage the fittings.
Next, connect the other ends to the shutoff valves under the sink. Once everything’s connected, turn on the water supply slowly to build pressure gradually. Check all connection points closely for drips or moisture.
If you spot a leak, tighten the connection slightly until it stops. Finally, run both hot and cold water for a minute to flush out any air or debris. This assures your new faucet works smoothly and stays leak-free.
Troubleshoot Common Faucet Issues
If your faucet isn’t working properly after installation, you’ll want to identify the issue quickly to prevent further problems. Start by checking these common issues to troubleshoot effectively:
- Low Water Pressure: Make sure both shut-off valves are fully open. Clear any debris or sediment from the aerator by unscrewing it and rinsing thoroughly.
- Leaking Faucet: Tighten all connections and inspect washers or O-rings for damage. Replace any worn components to stop drips.
- Handle Issues: If the handle feels loose or hard to turn, tighten the mounting screws or lubricate moving parts with plumber’s grease.
Test Your Faucet and Make Final Adjustments
After addressing any common issues, you’re ready to test your faucet to guarantee it works smoothly and leaks are eliminated. Turn on both hot and cold water handles slowly, checking for steady water flow and proper temperature mix. Inspect all connections underneath for drips.
If you spot any leaks, tighten fittings carefully. Also, test the sprayer (if equipped) and ensure the handles turn effortlessly without sticking.
Use this checklist to guide your final adjustments:
| Step | What to Check | Action if Needed |
|---|---|---|
| Water Flow | Smooth and steady flow | Adjust valves or clean aerator |
| Temperature Mix | Proper hot and cold balance | Adjust cartridge or handles |
| Leak Inspection | No drips under sink | Tighten fittings or replace washers |
| Handle Operation | Handles turn smoothly | Lubricate or tighten handles |
Once everything functions well, your faucet replacement is complete!
Frequently Asked Questions
What Type of Faucet Is Best for Water Conservation?
You’ll want a faucet with a WaterSense label or a low-flow aerator to save water. These faucets reduce flow without sacrificing pressure, helping you conserve water and lower your utility bills effectively.
How Do I Choose a Faucet That Matches My Bathroom Decor?
You’ll want to pick a faucet that echoes your bathroom’s style—sleek for modern, ornate for vintage.
Match finishes with fixtures and colors, so everything flows naturally, making your space feel polished and perfectly coordinated.
Can I Install a Faucet Without Professional Plumbing Experience?
Yes, you can install a faucet without professional experience if you follow clear instructions, use the right tools, and take your time.
Just make sure to turn off the water supply and double-check all connections for leaks.
What Are the Most Common Faucet Finishes and Their Durability?
Imagine your faucet gleaming in polished chrome, satin nickel, or oil-rubbed bronze. Chrome’s shiny and durable, satin nickel hides water spots well, and oil-rubbed bronze adds rustic charm but can wear faster.
Choose what fits your style!
How Often Should I Replace My Bathroom Faucet?
You should replace your bathroom faucet every 10-15 years or sooner if you notice leaks, corrosion, or reduced water flow.
Regular maintenance helps, but upgrading can improve style and function whenever you feel like it.
Conclusion
Changing your bathroom faucet is easier than you might think—most people finish the job in under an hour! With just a few simple tools and steps, you can upgrade your sink’s look and function without calling a plumber.
Remember, about 10% of homeowners tackle small plumbing projects themselves, saving time and money. By following these steps, you’ll enjoy a fresh, leak-free faucet that works perfectly.
Give it a try—you’ve got this! Changing a bathroom faucet can be a straightforward DIY project that enhances your bathroom’s style and efficiency. With the right approach, you’ll master how to change a bathroom faucet quickly and confidently.