When Can I Vacuum After Hip Replacement Surgery? Safe Timeline Guide
Recovering from hip replacement surgery comes with many questions, especially about when you can safely return to everyday activities like vacuuming. You want to keep your home clean but also protect your new hip from unnecessary strain. Understanding the right timing can help you avoid setbacks and promote a smooth recovery.
Vacuuming involves bending, twisting, and standing for extended periods—all movements that might affect your healing hip. Knowing when your body is ready to handle these motions is key to preventing injury and ensuring long-term success. In this article, you’ll learn about the typical recovery timeline and tips to vacuum safely after your surgery.
Understanding Hip Replacement Surgery
Understanding hip replacement surgery helps you grasp why timing matters for activities like vacuuming. Knowing the procedure and recovery phases guides your safe return to daily tasks.
Overview of the Procedure
Hip replacement surgery replaces damaged hip joint parts with artificial components. Your surgeon removes the worn bone and cartilage, then fits a metal or ceramic ball on a stem inserted into the thighbone, plus a matching socket in the pelvis. This restores joint function and reduces pain caused by arthritis or injury. The procedure takes about 1 to 2 hours and typically requires a hospital stay of 1 to 4 days.
Typical Recovery Timeline
Your recovery progresses through stages starting immediately after surgery.
- First 1 to 3 weeks: Focus on pain management, swelling control, and gentle range-of-motion exercises under supervision.
- Weeks 4 to 6: Begin weight-bearing activities with assistive devices like walkers or crutches while increasing hip strength and mobility.
- Weeks 7 to 12: Advance to walking independently, low-impact activities, and light housework as tolerated.
- After 12 weeks: Most patients regain near-normal function, although full healing may continue up to 6 months.
Your healthcare team guides adjustments based on your healing rate and avoids movements that stress the new hip, ensuring activities like vacuuming fit safely into your recovery timeline.
Risks and Precautions After Hip Replacement
Understanding the risks and precautions after hip replacement is crucial for protecting your new joint and ensuring successful recovery.
Common Complications to Avoid
Infection, hip dislocation, and blood clots represent the most common complications following hip replacement surgery. Avoid twisting or bending your hip beyond 90 degrees because these movements increase the risk of dislocation. Refrain from lifting heavy objects or performing sudden, jerky motions as they can strain your hip and delay healing. Monitor the surgical site for redness, swelling, or unusual drainage since these signs may indicate infection that requires prompt medical attention. Maintain mobility with gentle exercises but limit activities that cause pain or discomfort to reduce blood clot risk.
Importance of Following Medical Advice
Following your surgeon’s and physical therapist’s instructions ensures proper healing and prevents setbacks. Use assistive devices like walkers or canes as recommended to support weight-bearing and balance during recovery. Adhere to prescribed medication schedules to control pain and prevent complications such as blood clots. Attend all follow-up appointments so your healthcare team can monitor progress and adjust your rehabilitation plan accordingly. Report any unusual symptoms immediately because early intervention mitigates risks and promotes safer return to daily activities, including vacuuming.
When Can I Vacuum After Hip Replacement Surgery?
Vacuuming demands bending, twisting, and sustained effort, which affect your hip recovery. Knowing when to resume vacuuming helps prevent strain and supports healing.
Factors Influencing Recovery Time
Recovery varies based on your age, overall health, and surgery type. Your strength and range of motion improve gradually. If your physical therapy progresses without pain or swelling, you may handle vacuuming sooner. The weight of your vacuum and your ability to maintain proper posture also impact timing. Avoid vacuuming if you still experience stiffness, significant discomfort, or use assistive devices like walkers.
Recommendations from Medical Professionals
Orthopedic surgeons typically advise waiting at least 6 to 8 weeks before vacuuming. Physical therapists emphasize regaining core strength and hip stability first. Using lightweight vacuums and taking frequent breaks reduces risk. Maintaining hip precautions—such as avoiding bending beyond 90 degrees and limiting twisting motions—is essential while vacuuming initially. Always follow personalized guidelines given during your follow-up visits.
Signs You Are Ready to Vacuum
You can consider vacuuming when you walk unaided and climb stairs without pain. When your hip feels stable during daily activities and you can bend safely without discomfort, vacuuming becomes feasible. Minimal swelling and no increased pain after light housework also indicate readiness. If unsure, test vacuuming in short increments and monitor your body’s response closely.
Tips for Vacuuming Safely Post-Surgery
Vacuuming after hip replacement requires caution to prevent strain on your new joint. Follow these strategies to protect your hip and maintain cleanliness effectively.
Proper Techniques to Protect Your Hip
Maintain an upright posture while vacuuming to keep your hip stable and avoid bending beyond 90 degrees. Use short, controlled movements instead of twisting your torso. Choose a vacuum with a long handle to reduce the need for bending. Shift weight evenly between both legs to prevent excess pressure on the operated hip. Take regular breaks every 10 to 15 minutes to rest your muscles and prevent fatigue. Pause vacuuming immediately if you experience pain or discomfort, and consult your surgeon or physical therapist.
Alternative Cleaning Methods
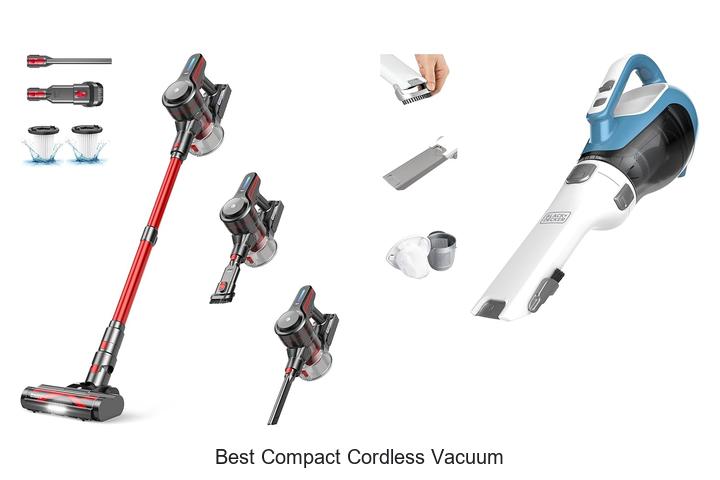
Opt for lightweight cleaning tools such as a microfiber mop or a cordless stick vacuum to minimize effort. Use a robotic vacuum cleaner that cleans autonomously, reducing your physical strain. Delegate heavy cleaning tasks to family members or professional services during early recovery stages. Focus on spot-cleaning high-traffic areas rather than the entire floor at once to reduce exertion. Prioritize low-impact activities like dusting or organizing shelves until your hip strength improves.
Conclusion
Getting back to vacuuming after hip replacement surgery takes patience and careful attention to your body’s signals. Waiting until you’ve built enough strength and stability helps protect your new hip from unnecessary strain.
By following your healthcare team’s advice and using the right techniques, you can safely ease back into cleaning without compromising your recovery. Remember, it’s okay to take it slow and use alternatives when needed. Your hip will thank you for the extra care.